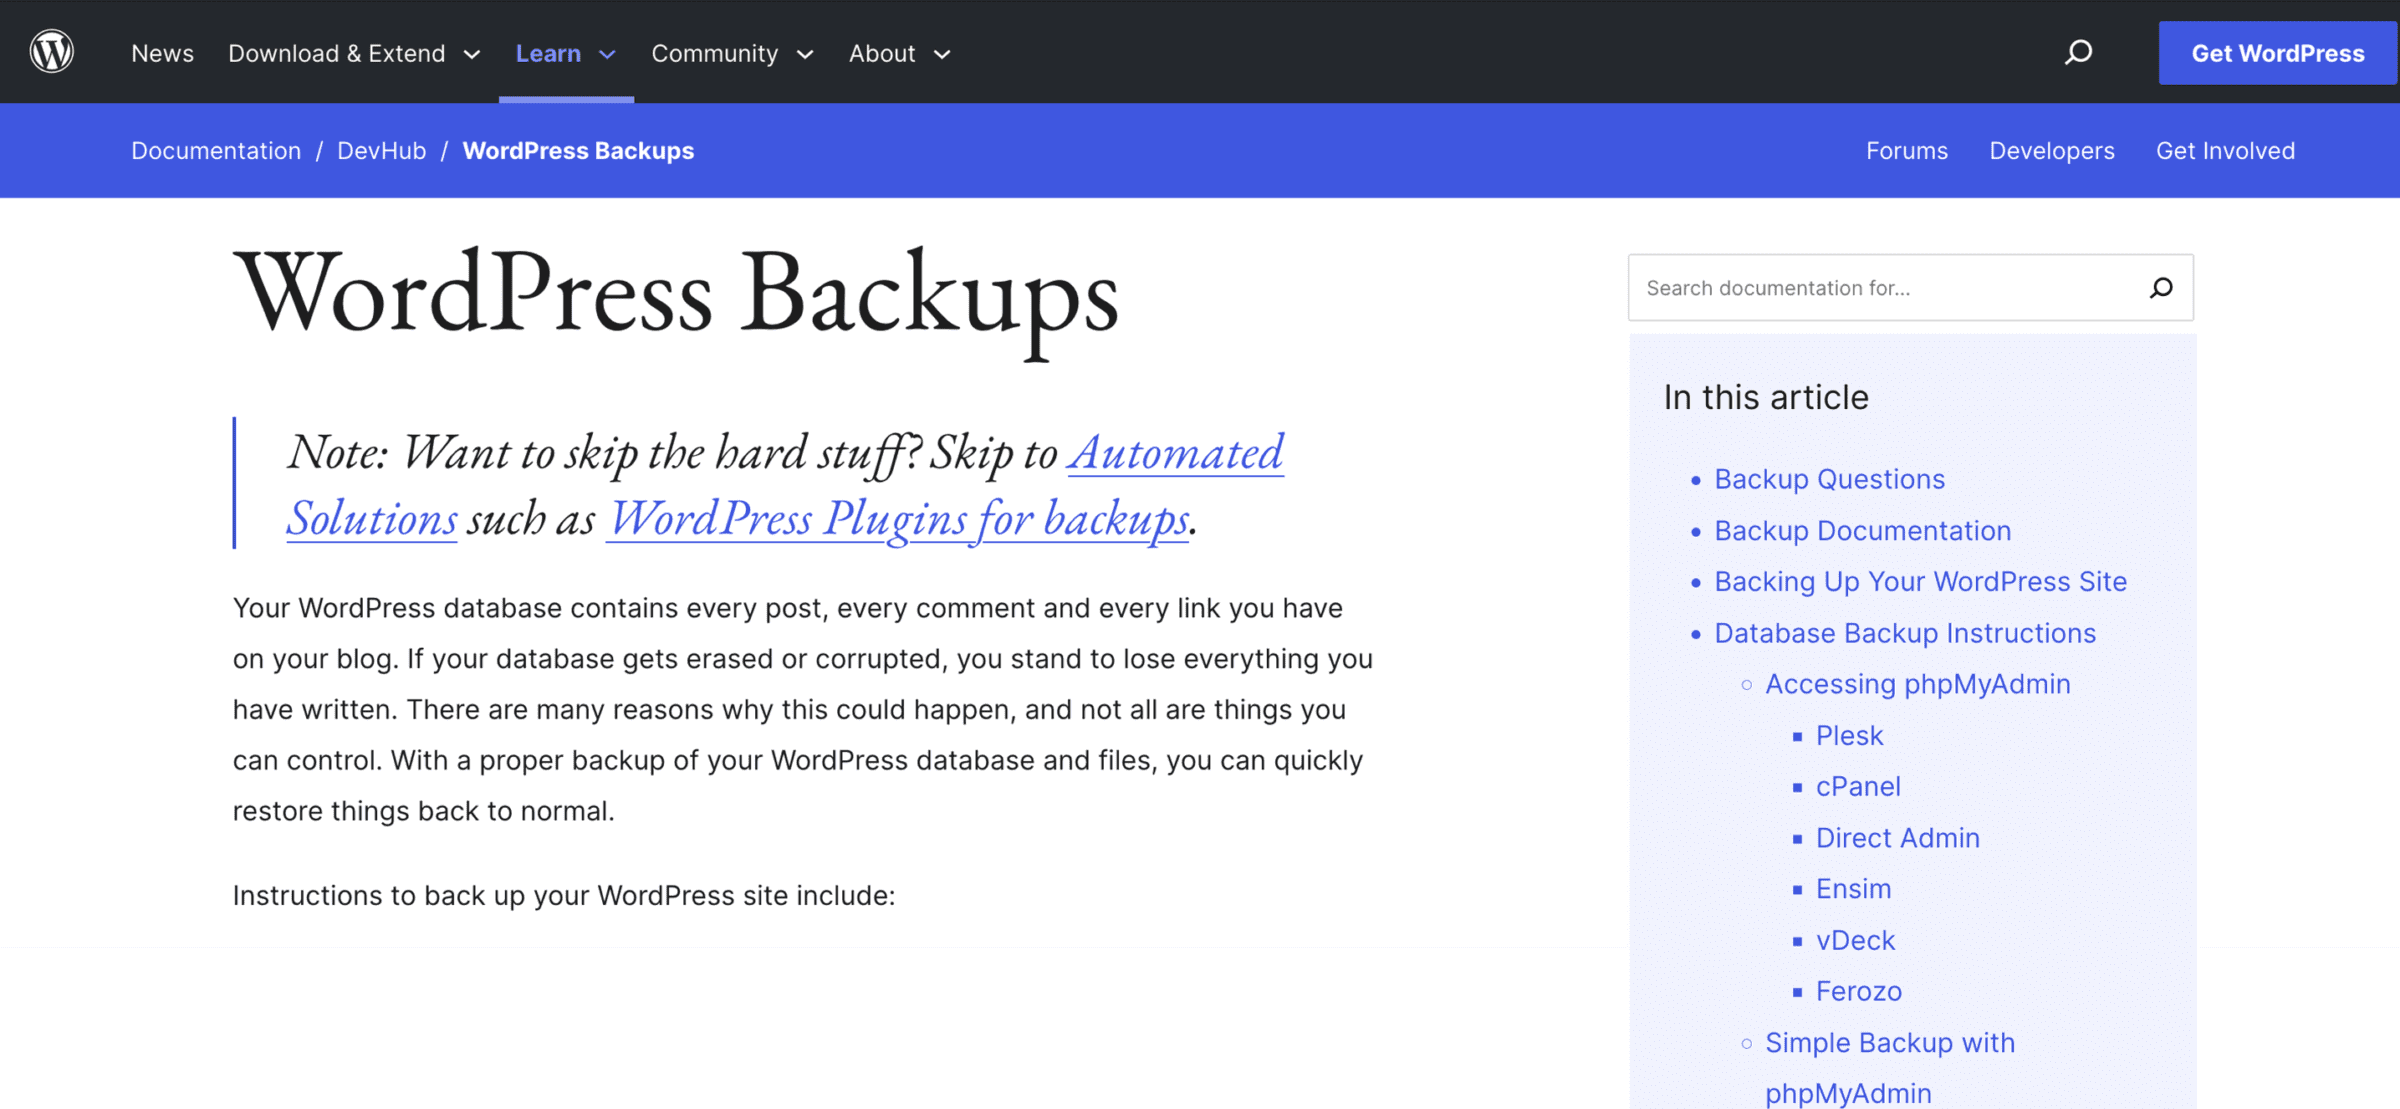
Backing up your WordPress website is essential to protecting your website from data loss. Here’s a step-by-step guide on how to back up a WordPress website.
Step 1: Choose a backup solution
The first step in backing up your WordPress website is to choose a backup solution. There are many backup solutions available, including plugins and cloud-based services. Some popular plugins include UpdraftPlus and VaultPress, while cloud-based services include Google Drive and Dropbox.
Step 2: Install the backup plugin or service
Once you’ve chosen a backup solution, you’ll need to install it on your WordPress website. If you’ve chosen a plugin, you can install it from the WordPress plugin repository. If you’ve chosen a cloud-based service, you must sign up for an account and follow the instructions to set it up.
Step 3: Configure your backup solution
Next, you’ll need to configure your backup solution. This may include setting up a schedule for backups, selecting which files and databases to back up, and setting up a destination for the backups. Finally, configure your best backup solution for your website and its needs.
Step 4: Perform a backup
After your backup solution has been installed and configured, perform a website backup. This may involve running a manual backup or waiting for your scheduled backup. Ensure that the backup has been completed successfully and that all of your website’s files and databases have been backed up.
Step 5: Store the backup safely
Once you have backed up your website, store the backup in a safe place. If you’ve chosen a cloud-based service, your backups will be stored in the cloud. If you’ve chosen a plugin, you must store the backups on your computer or another secure storage device.
Step 6: Test your backup
It’s essential to test your backup to make sure it can be used to restore your website. For example, to test your backup, you can install a local development environment, such as XAMPP or WAMP, and restore the backup to the development environment.
Step 7: Repeat steps 4-6 regularly
It’s crucial to regularly perform backups of your WordPress website to protect your website from data loss. Set a backup schedule and repeat steps 4-6 to protect your website’s data.
Step 8: Consider using multiple backup solutions
Using multiple backup solutions can provide extra protection for your website’s data. For example, you may choose to use a plugin and a cloud-based service to back up your website, or you may choose to use multiple plugins.
Step 9: Keep backup copies in multiple locations
In addition to using multiple backup solutions, keeping backup copies of your website in various locations is a good idea. This will ensure that you have access to a backup of your website, even if one location is lost or damaged.
Congratulations, you now know how to back up a WordPress website! Use this guide to ensure your website’s data is always protected and can be restored during data loss.


